


النقاط الرئيسية
- Define the control architecture before deciding the button count.
- Give roof movement and stop commands the clearest physical hierarchy.
- Use icons for recognition, labels for certainty, and shape for operation by touch.
- Treat branding as a consistent system language, not a logo-printing exercise.
- Validate the remote on an assembled aluminum pergola before production approval.
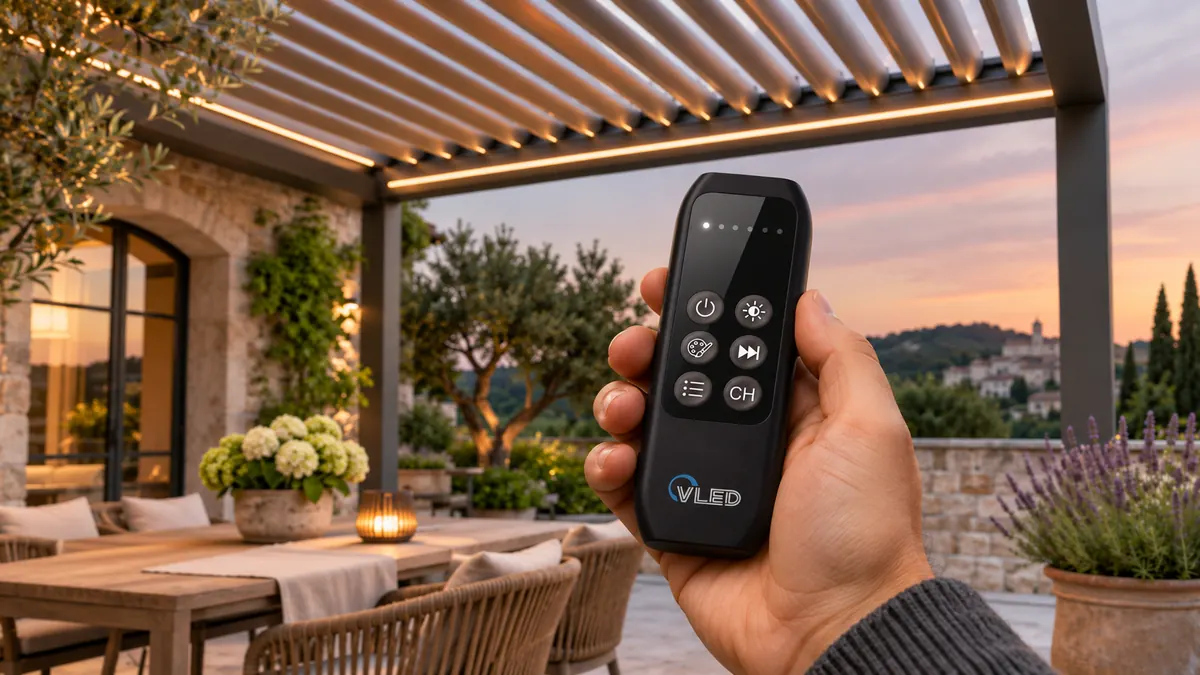
The remote control is often the smallest branded part in a motorized pergola package. It may also be the part the customer handles most often. A smooth louver mechanism and carefully integrated lighting can still feel unfinished when the handset is confusing, the labels fade, or the pairing process requires a support call.
That is why remote design should begin with the behavior of the complete pergola. The handset is the visible end of the نظام التحكم المتكامل في البرجولا: motors, actuators, white and RGB lighting, sensors, scenes, channels, firmware, and receiver logic all meet there.
Our position is direct. Pergola manufacturers should not choose a generic remote at the end of the project and then fit the product around it. They should define the control experience early, then select or develop the remote, controller, firmware, labeling, and documentation as one OEM package.
The remote is not an accessory to the pergola. It is the product interface, a service tool, and a compact expression of the brand.
Why Does the Remote Deserve Product-Level Attention?
The remote deserves product-level attention because it shapes three outcomes at once: daily usability, dealer confidence, and the perceived quality of the pergola. A user sees a command. Behind that command, the manufacturer owns channel mapping, timing, interlocks, RF communication, feedback, and recovery behavior.
This gap becomes wider as product lines add options. One model may rotate louvers and dim a warm-white strip. Another may add retractable roof movement, RGB ambience, screens, heaters, rain response, and app control. If each upgrade creates a new remote logic, the catalog becomes harder to explain and replacement parts become harder to manage.
A stronger approach uses a stable interaction grammar across the range. Open, stop, close, brighten, dim, select zone, and activate scene should behave consistently even when the controller behind them changes. The control platform can then support clear product tiers without asking dealers to learn a new interface for every pergola model.
What Should Be Decided Before the Button Layout?
Decide the function hierarchy, load map, safety behavior, and channel structure before drawing buttons. A remote layout cannot repair a vague control architecture. It can only expose it.
Start with use cases, not features. What must a first-time user do without a manual? What must remain available during an app or network outage? Which commands move hardware? Which operations can damage the product if triggered accidentally? Which setup tasks belong to an installer rather than a homeowner?
| Function class | Typical pergola functions | Remote design treatment | OEM decision |
|---|---|---|---|
| Primary motion | Open, stop, close, louver tilt | Direct, prominent, easy to operate by touch | Define motor groups, limits, synchronization, and conflict rules |
| Frequent comfort | Light on/off, dimming, zone selection | Direct or one clearly signposted mode | Define mono, RGB, or RGBW zones and power behavior |
| Scenes | Dinner, sunset, all off, privacy | One or two memorable keys, or a scene selector | Store scene behavior in firmware and document what it controls |
| Safety automation | Rain, wind, snow, obstacle response | Status and override rules, not casual everyday buttons | Set priority, recovery, timeout, and manual override logic |
| Commissioning | Pair, reset, limits, channel enrollment | Recessed key, protected sequence, or installer mode | Standardize the workflow across batches and spare remotes |
This separation keeps installer functions from crowding the homeowner interface. It also supports a clearer channel and pairing workflow. When the product team fixes the channel map early, button labels, receiver labels, app names, wiring diagrams, and service scripts can all use the same structure.
How Should Pergola Remote Buttons Be Organized?
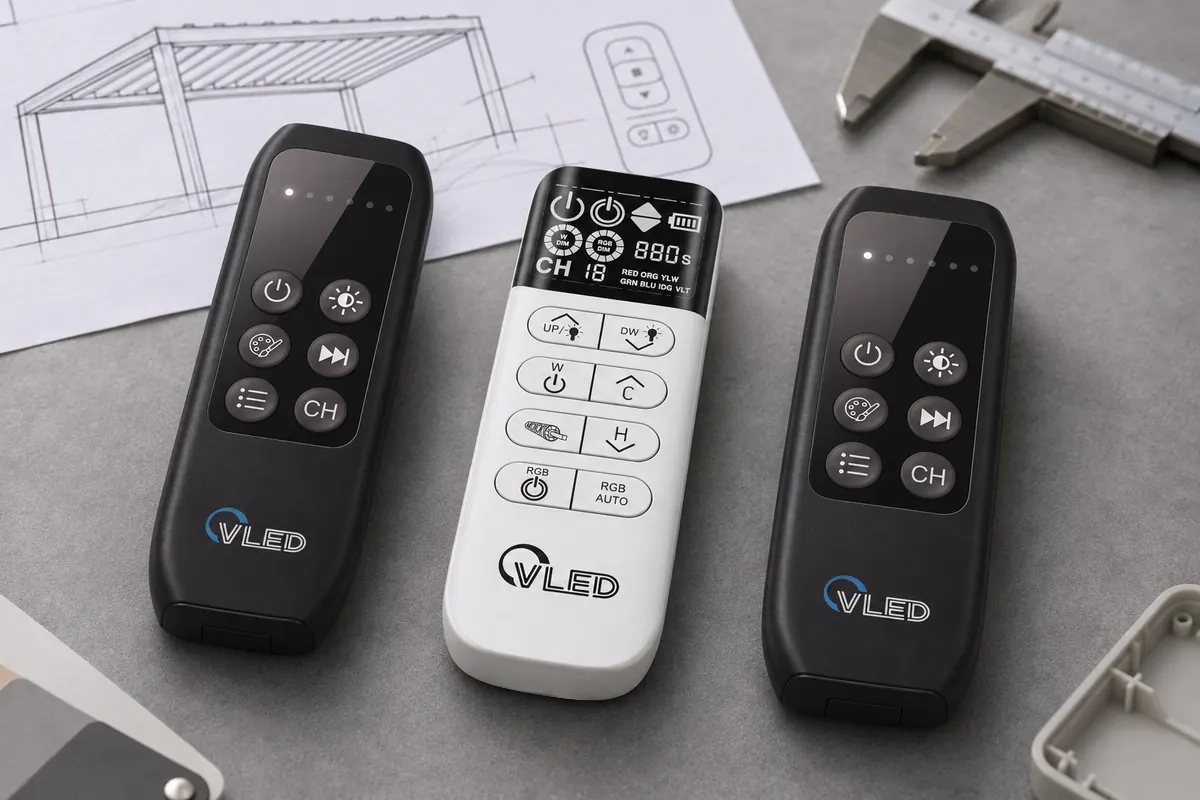
Organize buttons by task frequency and consequence, not by the order in which engineers added functions. Roof movement should occupy the clearest physical group. Stop should be unmistakable. Lighting and scene functions can form a second group, while setup controls should stay visually and physically separate.
Use natural mapping for movement
A vertical open-stop-close stack is easy to scan and learn. If the same remote also controls a retractable screen, the selected channel must be obvious before movement begins. A small display can help on multi-channel systems, but a display does not excuse unclear button grouping.
Directional symbols require special care on rotating louvers. An upward arrow may mean open, rotate up, retract, or move to the next channel. Choose the intended concept, then repeat it in the manual and app. If a roof supports both tilt and retract, avoid assigning both actions to one ambiguous arrow set.
Differentiate critical buttons by touch
Size, shape, spacing, texture, and actuation force can communicate hierarchy before the user reads a label. The DTG remote-control guidance recommends differentiating important controls through size, shape, position, and texture. This principle transfers well to outdoor products, where people may operate a remote in low light or with wet hands.
Do not make every button identical for visual neatness. Uniform keys look clean in a render, yet they force the user to stop and read. A distinct stop key, a tactile locator on the primary lighting key, and generous spacing around movement controls can reduce hesitation without making the remote look industrial.
Use long presses sparingly
A long press works well when the action is a natural extension of the short press. Tap a light key for on or off; hold it to dim. It works poorly when it reveals an unrelated hidden function. Users rarely remember that holding a scene key for five seconds enters pairing mode.
If a long press is necessary, define the threshold, feedback, cancellation behavior, and documentation. Do not assign a hidden destructive reset next to an everyday command. Installer-only sequences should require deliberate actions that are unlikely to happen in normal use.
When Should Icons Be Paired With Text Labels?
Pair icons with text whenever the symbol could carry more than one reasonable meaning. Use icon-only buttons for widely recognized actions or when the physical mapping is self-evident. Even then, test comprehension with people who did not help design the product.
The pergola category has a small set of relatively clear concepts: open, stop, close, light on/off, brighter, dimmer, zone, and battery. It also has difficult concepts such as louver tilt, retractable roof, RGB mode, group control, pairing, wind lockout, and scene recall. Those need more than an attractive pictogram.
ETSI human-factors guidance advises using full words when possible, established symbols for common functions, and icon or text reinforcement instead of color alone. For an OEM selling in several languages, this leads to a practical rule: use symbols to reduce translation, but do not ask symbols to carry meaning they have not earned.
Build one vocabulary across every interface
The remote, mobile app, wall panel, control box, quick-start card, and service guide must name functions the same way. If the remote says “Zone,” the app should not say “Channel” while the receiver label says “Group.” That mismatch turns a simple dealer call into a translation exercise.
The same rule applies to graphics. Use one louver symbol, one lighting symbol, and one zone numbering system throughout. VLEDSTAR’s single-remote control architecture illustrates why this matters: actuator groups, mono lighting zones, RGB lighting, and scenes remain electrically distinct even when the customer experiences one coherent interface.
What Makes a Button Label Suitable for Outdoor Use?
An outdoor label must remain legible after handling, cleaning, sunlight exposure, temperature changes, and contact with common residues such as skin oils or sunscreen. The right marking method depends on the key material, housing finish, production volume, backlighting, color count, and expected life of the product.
Screen printing can be efficient for high-contrast legends on stable surfaces. Laser marking can provide a precise, durable result on compatible materials. In-mold or molded legends may suit higher-volume programs. A printed overlay offers flexibility for semi-custom projects, but its adhesive, edge sealing, and abrasion resistance need validation for the intended outdoor environment.
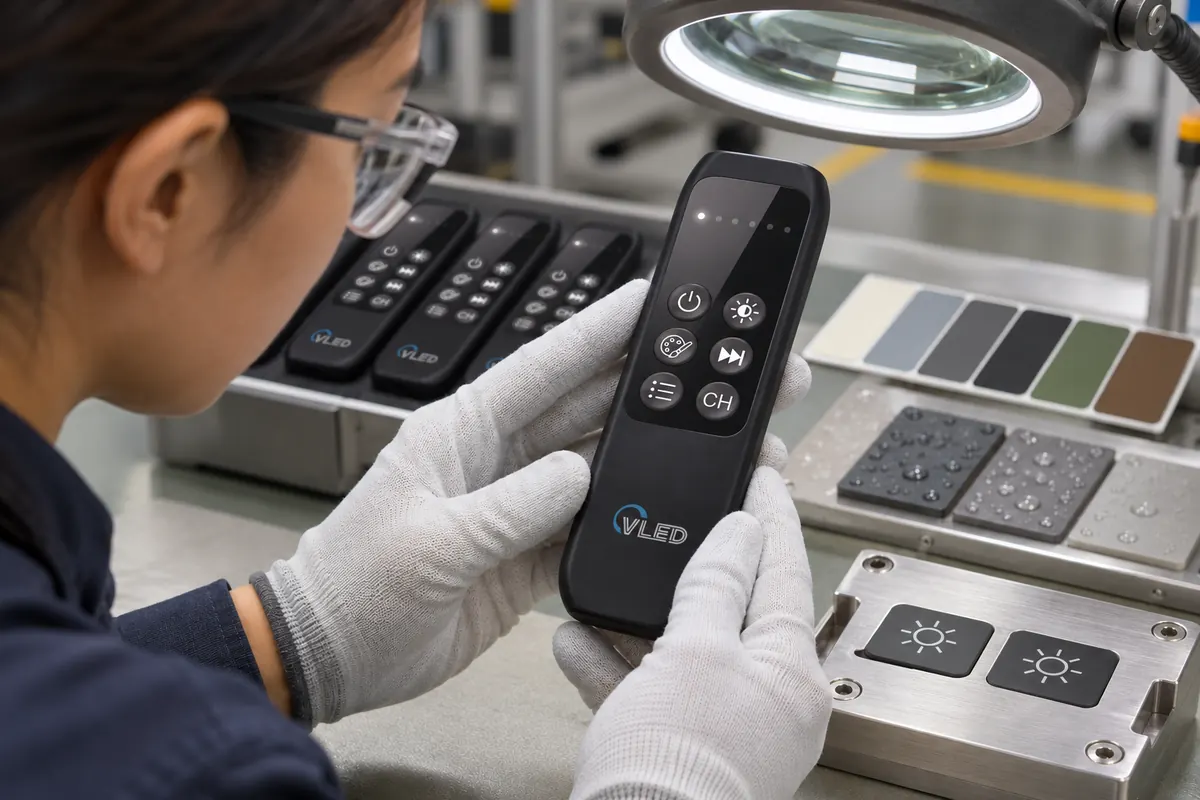
Do not approve artwork from a PDF alone. Review production-intent samples under daylight, warm evening light, and low illumination. Check the smallest legend at normal holding distance. Then repeat the review after abrasion and environmental testing appropriate to the selected materials.
Manufacturing rule: specify the label as an engineered surface, not just a graphic file. The drawing should identify typography, minimum size, color reference, contrast, placement tolerance, marking process, substrate, finish, durability method, and approved master sample.
Plan localization before the tool is frozen
English-only labels can limit a remote in multilingual European dealer networks. Icon-only layouts can create a different problem when the icons are unclear. The best compromise is often a small core of tested symbols, minimal words, and market-specific quick-start documentation.
Reserve enough artwork space for longer translations if regional labels are required. Also keep printed terms separate from firmware strings in the design specification. This makes it easier to manage app languages, LCD text, packaging, and manuals without changing the underlying control logic.
How Can Branding Improve the Remote Without Hurting Usability?
Branding improves a remote when it creates recognition and consistency without competing with the controls. Logo placement, housing color, material finish, typography, button color, LED behavior, packaging, and interface language should feel related to the pergola product family.
The logo belongs in a quiet, durable area. It should not reduce label contrast or force critical buttons into a smaller space. Brand colors can identify zones or modes, but color must never be the only cue. A customer should still understand the handset in poor light and if color perception differs.
Private labeling can start at several levels. A manufacturer may use an existing enclosure with custom artwork, change the button mat and firmware, develop a new PCB inside a proven housing, or commission a fully new industrial design. The right path depends on product volume, schedule, interface needs, environmental requirements, certification impact, and the value of a unique form.
VLEDSTAR began in LED lighting in 2010 and now develops pergola lighting and integrated control systems for motorized outdoor structures. Our pergola control unit program supports customization of firmware, enclosure, logo, wiring, and channel configuration. That manufacturing perspective changes the branding conversation: the remote should carry the brand’s operating logic, not only its name.
What Feedback Should the Remote Provide?
The remote should confirm that an action was registered, while the system should make clear whether the command was received and executed. Those are not always the same event. A transmitter LED can show that the remote sent something; it cannot prove that an aluminum-enclosed receiver moved the roof.
Mechanical click, key travel, an indicator LED, a display message, or audible feedback can confirm input. The controlled product then provides outcome feedback through motion, lighting change, receiver indication, or two-way status. The DTG guidance specifically favors feedback from the receiver when practical, and the lighting-control interface report hosted by UC Davis distinguishes input feedback from indication of the system’s actual state.
This distinction matters for scenes and safety states. If a storm rule blocks a screen command, a silent failure looks like a defective remote. If a rain sensor has priority over manual opening, the user needs a clear explanation in the app, display, or product documentation. Good feedback reduces repeated button presses and makes safety behavior feel intentional.
Why Must RF and Receiver Design Be Reviewed With the Handset?
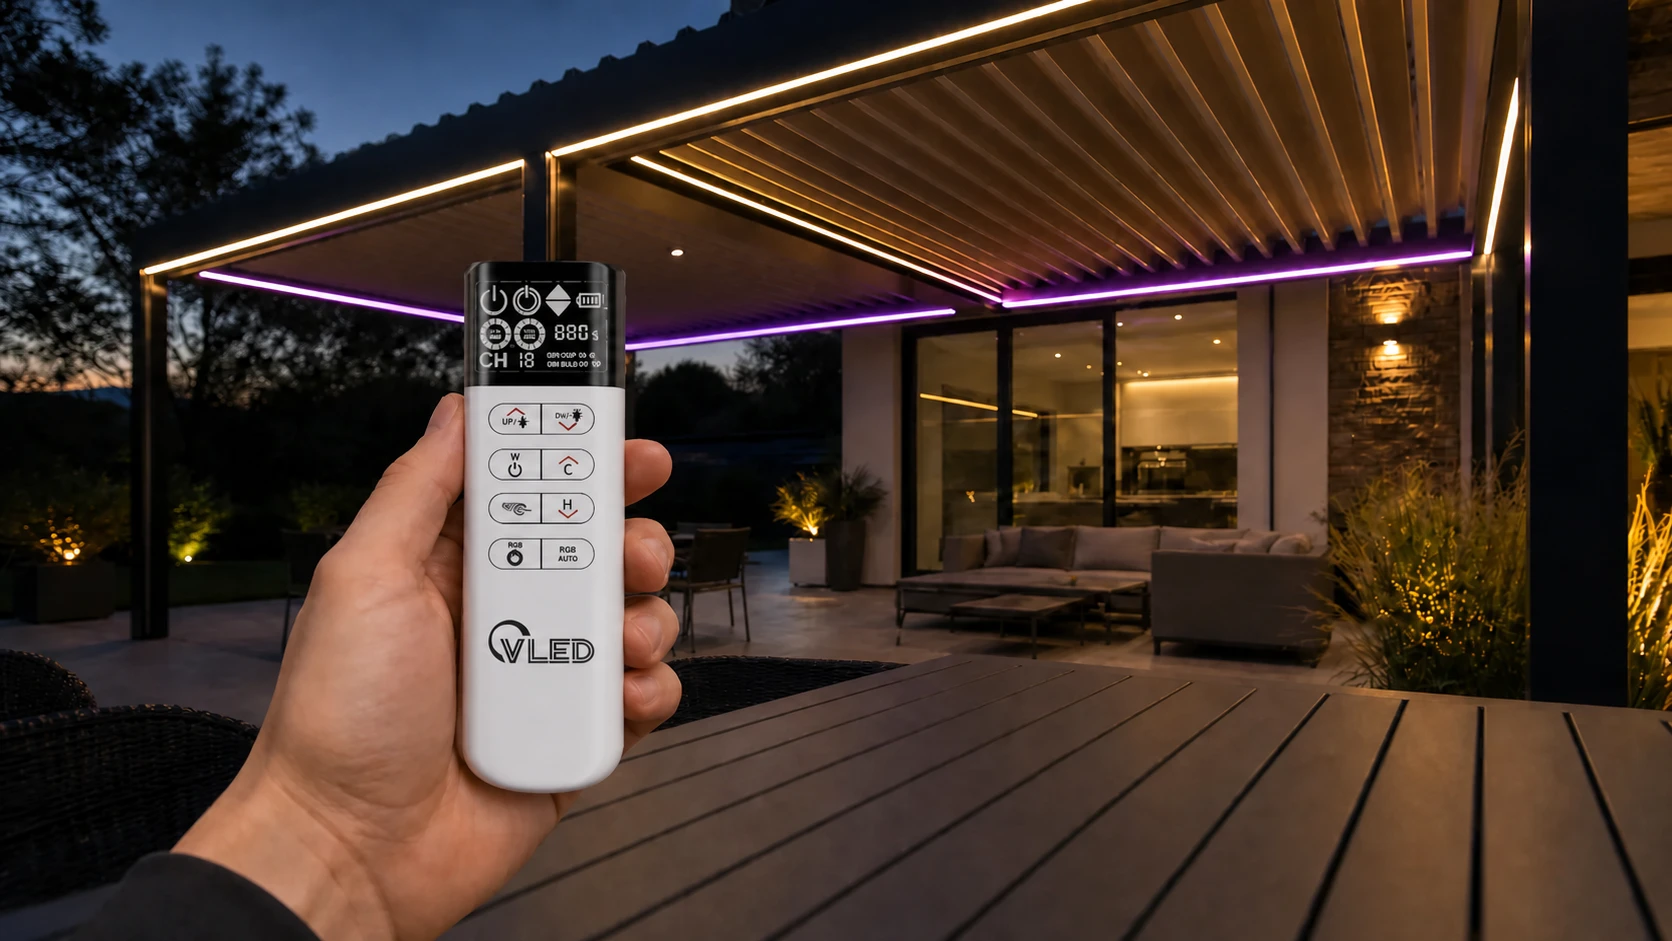
A custom remote cannot be approved in isolation because the installed pergola is part of the radio environment. Aluminum beams, control-box lids, antenna placement, LED drivers, motor cables, glass walls, and user position all affect usable range and consistency.
Bench range is only an early check. Production validation should place the controller, receiver, antenna, wiring, and power supplies in a representative pergola structure. Test from the locations where users actually stand, with access covers closed and relevant loads operating. Our guide to RF performance in aluminum pergolas explains why open-air specifications cannot replace installed-system tests.
Market compliance belongs in the same design review. Radio products sold in the United States may fall under 47 CFR Part 15. Equipment placed on the EU market must be assessed against the applicable framework, including the Radio Equipment Directive. Frequency, protocol, antenna, enclosure, firmware, and supplier changes should therefore be controlled, not treated as interchangeable purchasing details.
How Should a Pergola Manufacturer Validate the Prototype?
Validate the prototype as a user interface, a radio device, and a service component. Engineering approval confirms that commands work. Product approval confirms that unfamiliar users understand them, dealers can commission them, and replacement units can be supported later.
| Validation area | Questions to answer | Evidence to retain |
|---|---|---|
| Comprehension | Can a first-time user identify roof, stop, light, zone, and scene controls? | Observed task results, comments, and revised artwork |
| Ergonomics | Can the remote be used one-handed, in low light, and with wet or gloved hands? | Grip review, key-force results, accidental-press checks |
| System behavior | Do short press, long press, scenes, groups, lockouts, and overrides behave predictably? | Approved function matrix and firmware version |
| Installed RF | Does control remain reliable around the assembled aluminum structure and active loads? | Test positions, configuration, results, and antenna placement |
| Durability | Do legends, key feel, enclosure, battery door, and seals survive the defined use profile? | Test method, sample identity, photos, and acceptance record |
| الخدمة | Can a dealer pair a spare remote, reset one channel, and recover from a mistake? | Quick-start guide, service flow, and support script |
Include at least one person from installation or after-sales support in the approval. They notice different risks than industrial designers and electronics engineers. A pairing sequence that seems logical on a bench may be difficult while standing on a ladder with the control box already installed.
Scene behavior also deserves prototype testing. A dedicated key is valuable only when the result is predictable. Define which lighting zones, louver positions, screens, and timers belong to the scene, then document how manual commands interact with it. Our pergola scene-control framework provides a useful starting point for manufacturer-defined presets.
What Should Go Into the Remote Design Brief?
A useful design brief connects commercial intent with engineering detail. It should be complete enough for a remote and controller supplier to identify conflicts before tooling, artwork approval, or firmware freeze.
- Target pergola models, regions, dealer types, and user profiles.
- Motor, actuator, lighting, screen, heater, fan, and sensor loads.
- Everyday commands, scenes, zones, groups, safety priorities, and override rules.
- Short-press, long-press, lock, reset, pairing, and replacement behavior.
- Required RF protocol, target markets, receiver design, and antenna constraints.
- Button count, grouping, shape, spacing, force, texture, and backlighting.
- Approved icons, labels, languages, typography, color references, and marking process.
- Logo position, housing color, finish, packaging, and documentation style.
- Battery type, low-battery indication, charging or replacement access, and storage behavior.
- Environmental, durability, installed-range, regulatory, and production tests.
- Sample stages, approval owners, golden sample, firmware control, and change process.
- Spare remote policy, pairing instructions, traceability, and after-sales documents.
The brief should also state what is intentionally excluded. A calm interface depends as much on restraint as capability. If app setup, dealer calibration, or rare diagnostics can live elsewhere, keep them off the daily-use surface.
الأسئلة الشائعة
How many buttons should a pergola remote have?
There is no universal number. Use the fewest buttons that give direct access to primary roof movement, stop, lighting, and the most valuable scene or zone functions. Setup, pairing, and diagnostics should not compete visually with everyday controls. More functions may require a display, mode structure, or second installer interface rather than more keys.
Should pergola remote buttons use icons or text labels?
Use familiar icons for obvious actions such as movement, power, and brightness. Add short text when an icon could be confused across markets or product models. The same vocabulary should appear on the remote, app, wall panel, receiver, quick-start guide, and service documentation.
Can an existing remote housing be private-labeled for a pergola brand?
Often, yes. Existing tooling can reduce time and investment when button geometry, internal space, environmental performance, and PCB layout fit the control architecture. A new enclosure makes sense when ergonomics, key count, display, charging, waterproofing, or brand form require structural changes.
What should be tested before approving a custom pergola remote?
Test comprehension, one-handed operation, low-light use, wet and gloved use, accidental presses, label durability, pairing and reset recovery, replacement remote enrollment, installed RF range around aluminum, multi-zone behavior, battery indication, and consistency with the app and wall panel.
Design the Remote Around Your Pergola Platform
Send VLEDSTAR your function list, motor and lighting configuration, target markets, existing remote or reference design, brand artwork, and expected volume. Our team can review the button logic, channel structure, receiver integration, labeling, private-label options, and prototype path as one control-system project.

أرسل لنا طلبك