


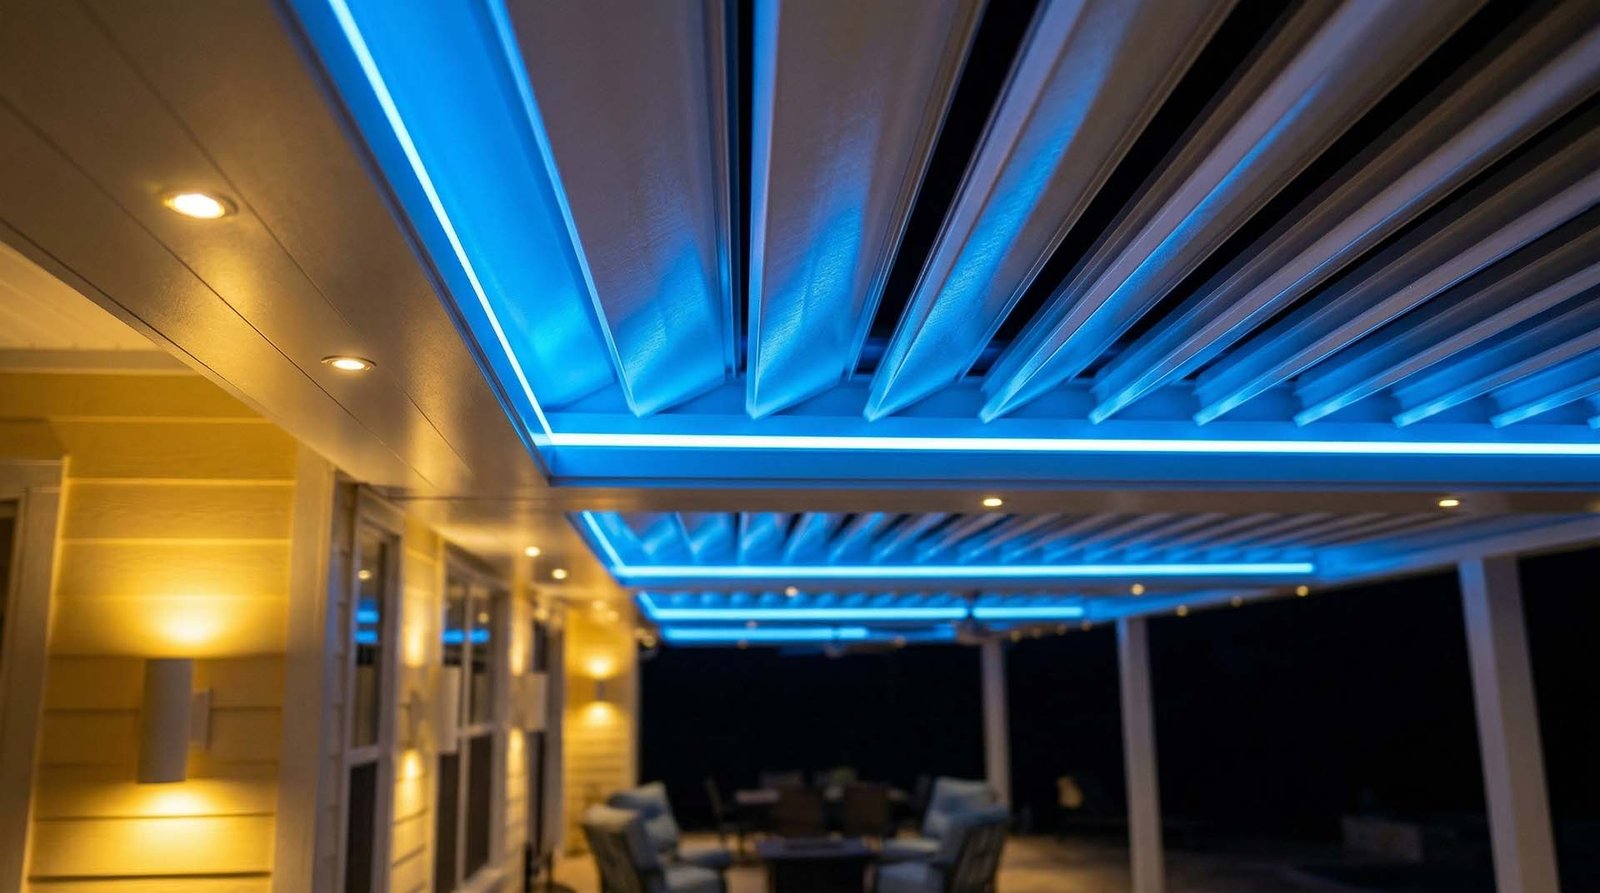
For pergola manufacturers, driver sizing is not just a wattage calculation. It is a product architecture decision that affects brightness consistency, control reliability, installer time, warranty exposure, and the way a lighting package scales from a residential kit to a commercial terrace system.
Points clés à retenir
- Calculate every 24V load at full output, then size drivers so normal operation stays below the driver’s comfortable continuous load range.
- Beam strips, louver strips, spotlights, RGBW channels, and motor-adjacent lighting should be grouped by circuit behavior, not only by total watts.
- North American projects may need Class 2 planning; many Class 2 interpretations limit one circuit to 100 VA, so larger packages often need zoning.
- Voltage drop, PWM dimming behavior, enclosure temperature, IP rating, connector losses, and service access can change the right driver choice.
The common online answer to LED driver sizing is simple: add up the strip wattage, add 20 percent, and buy the next larger 24V power supply. That advice is useful for a kitchen cove or a short indoor strip. It is not enough for a pergola OEM shipping beam lights, louver lights, perimeter strips, spotlights, RF receivers, and app-controlled dimming as one repeatable package.
A pergola is a metal structure exposed to heat, rain, installers with different habits, dealers with different wiring preferences, and end users who expect the lighting to work like a finished appliance. If the driver is undersized, the failure is obvious. If the driver is poorly zoned, the failure appears later as uneven brightness, nuisance protection trips, weak dimming, connector heating, or a service call that takes longer than the profit on the accessory package.
The better view is this: a 24V LED driver should be sized around the entire lighting system. That includes beam geometry, louver movement, cable routing, controller channel limits, power-injection points, local safety expectations, and the product range you plan to sell next year.
Why Should Pergola OEMs Treat Driver Sizing as System Design?
Driver sizing becomes system design when one pergola kit contains several lighting behaviors on the same structure. NFPA 70, the National Electrical Code, treats Class 2 and low-voltage circuits as part of a wider installation framework, so North American OEMs should plan the driver, wiring, and zoning together, not as separate accessories.
Most pergola manufacturers do not sell one LED strip. They sell an installed experience: soft beam glow, louver accent lighting, optional RGBW scenes, wall switch or RF remote control, app control in some markets, and sometimes lights that share space with motors, rain sensors, heaters, or screens. That creates electrical and support questions that a basic LED strip calculator cannot answer.
The search results for 24V strip power sizing usually cover four points: match the voltage, multiply watts per meter by length, add headroom, and avoid voltage drop. Pages from lighting retailers often explain these steps well for installers. However, pergola manufacturers need a repeatable kit architecture. They need to know when one driver is enough, when one beam needs power from both ends, when RGBW needs separate channel planning, and when driver placement becomes a production decision.
That is the position of this article. A correct 24V driver is not the biggest driver that fits the budget. It is the smallest reliable driver architecture that can support the lighting load, thermal environment, control plan, compliance route, and service model of the pergola package.
What Loads Belong in a 24V Pergola Lighting Package?
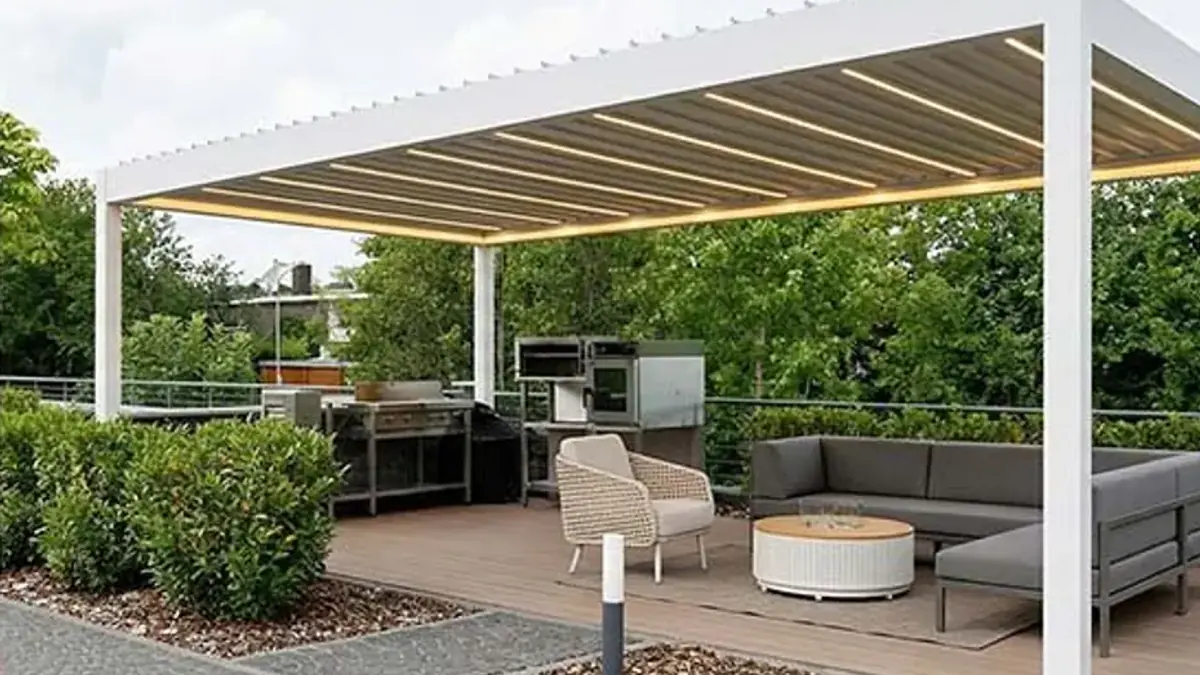
A pergola lighting package usually combines constant-voltage 24V LED loads with different cable paths and control needs. The first design task is to split beam, louver, strip, spotlight, and accessory loads into logical groups before choosing driver wattage or enclosure size.
Start with the bill of materials, not the power supply catalogue. A package may include straight beam strips, flexible side strips, louver-edge strips, recessed LED spotlights, RGBW perimeter strips, a receiver, a dimmer, and low-voltage connectors. Some packages also combine lighting with a 24V linear actuator or a control box. The load map should show what turns on together, what dims together, and what needs separate protection.
On pergolalights.net, the product structure already reflects those use cases: single-color pergola LED strip sets, RGBW strip light kits, LED spotlight kits for pergolas, and a linear actuator and LED strip package. These are not identical electrical loads, even when all of them use 24V.
| Load type | Typical pergola location | Sizing concern | Control concern |
|---|---|---|---|
| Single-color beam strip | Main perimeter beams or rafters | Total watts, run length, voltage drop, heat inside aluminum profile | Usually one dimming channel or paired zones |
| Louver accent strip | Moving or adjacent louver area | Cable bend radius, connector strain, short branch runs | Needs predictable dimming without interfering with motor logic |
| RGBW strip | Perimeter mood lighting or hospitality scenes | Full white plus color-channel current, controller channel rating | Four channels must stay within receiver and wiring limits |
| Spotlights or downlights | Beam underside or posts | Parallel branch current and connector layout | Often grouped separately from strip mood lighting |
| Controller and receiver loads | Control box or waterproof junction area | Small current, but important for stable startup | RF, wall panel, app, and remote behavior must match |
This is why a professional pergola control system BOM should specify lighting loads early. When the lighting load is added after the aluminum structure is already fixed, the driver often ends up wherever space remains. That usually creates longer cable runs, less service access, and more voltage drop.
How Do You Calculate the Base 24V Driver Wattage?
The base calculation is still necessary: total full-output watts divided by the intended driver load ratio. For a professional pergola package, the arithmetic should include all strips, spotlights, controller losses, and simultaneous operating modes before any thermal or compliance adjustment.
Base load: Total LED watts = sum of each strip length x watts per meter + each fixture wattage + control accessory load.
Driver current: Output amps = total LED watts / 24V.
Driver rating: Driver watts = total LED watts / target load ratio. A common OEM target is 0.75 to 0.80 after full-output load is known.
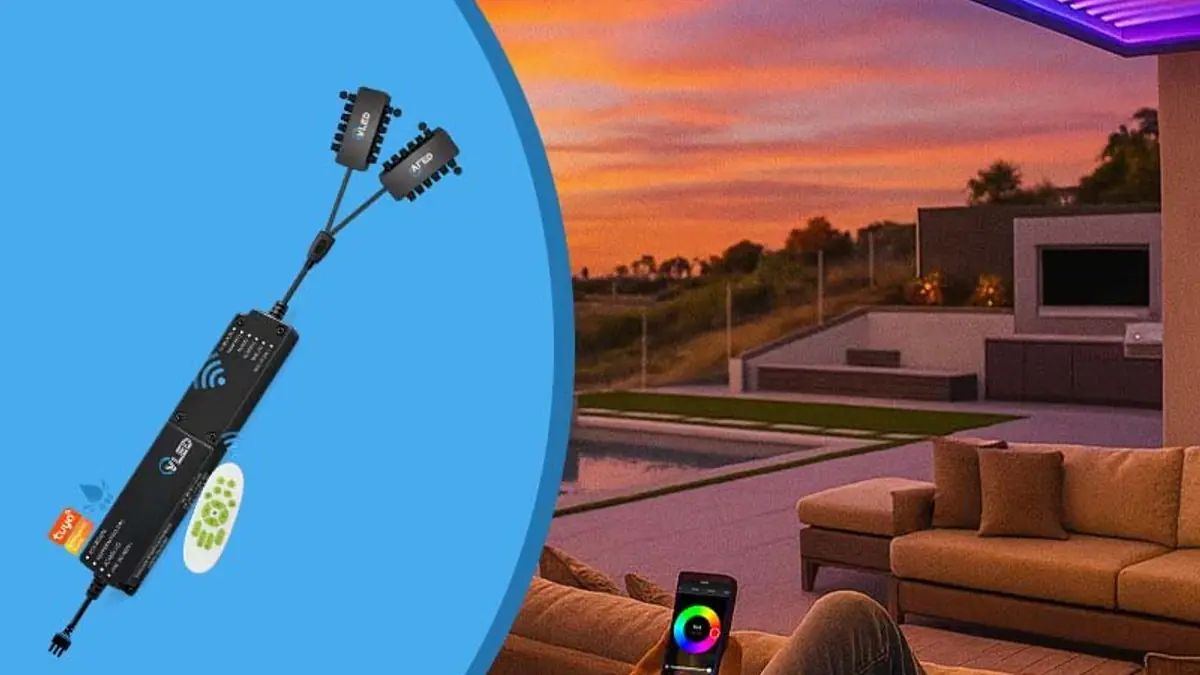
For example, imagine a medium pergola lighting package with four 2.8 m beam strip runs at 9.6 W/m, two 1.8 m louver accent runs at 6 W/m, and eight 1.5 W spotlights. The full-output load is 107.5 W for the beam strips, 21.6 W for the louver strips, and 12 W for the spotlights. The total is 141.1 W before controller allowance.
At 24V, that load draws about 5.9 A. If the design target is 80 percent loading, the driver rating would be 141.1 / 0.8, or about 176.4 W. In a simple indoor project, a 200 W 24V driver may look reasonable. In a pergola OEM package, that is only the beginning of the decision.
The next question is whether that 200 W should be one driver, two Class 2-limited circuits, or a driver plus a separate louver-light branch. The answer depends on cable length, local code route, control channel current, enclosure temperature, and how installers will troubleshoot the system in the field.
When Is One 24V Driver the Wrong Choice?
One larger 24V driver is the wrong choice when it increases voltage drop, exceeds a control-channel limit, complicates Class 2 planning, or makes one fault turn off the entire pergola. Advanced Energy notes that Class 2 power supplies are limited-power outputs, commonly discussed around the 100 VA boundary.
The 100 VA point matters because many North American outdoor lighting designs prefer Class 2-limited circuits for simpler low-voltage field wiring. That does not mean every pergola must use only 100 W drivers. It means the OEM should decide whether the package will be divided into smaller circuits, each with its own output limit, protection, connector plan, and labeling.
Do not confuse Class 2 with Class II. Class 2 relates to limited output power. Class II relates to input insulation construction and protective earth. The difference is explained well in this Class 2 versus Class II power supply overview. For compliance-sensitive programs, review the project with a qualified electrical professional and the applicable edition of NFPA 70.
A practical zoning view
If a package totals 180 W, one 240 W driver might be electrically possible. However, two 96 W lighting zones may be easier to route, inspect, protect, and support. This is especially true when the left and right beams are far apart, or when RGBW channels need separate current management.
For residential kits, one driver per pergola may reduce BOM cost. For OEM platforms, a modular driver plan can be better: one beam-light output, one louver or accent-light output, and one optional RGBW or spotlight output. That lets the manufacturer sell different packages without redesigning the whole control box.
How Much Headroom Does a Pergola LED Driver Need?
A 20 percent margin is a useful minimum search-intent answer, but pergola lighting often needs a wider engineering margin. Outdoor temperature, sealed driver boxes, cable losses, full-white RGBW scenes, and customer dimming habits can push a nameplate driver harder than the spreadsheet suggests.
Headroom is not wasted capacity. It is the space that keeps the driver away from continuous stress. A driver installed in a shaded utility space behaves differently from a driver sealed inside a hot aluminum beam. A driver used only for warm-white accent lighting behaves differently from a driver that runs high-output RGBW white scenes for a restaurant terrace.
Use the manufacturer’s datasheet for derating. If the driver power curve reduces output above a certain ambient or case temperature, use the reduced output in your calculation. Do not size from the biggest number on the label and then hide the driver in a small, sun-heated compartment.
| Condition | Recommended sizing response |
|---|---|
| Short single-color beam strip, open-air driver area | Total watts divided by 0.80 may be enough if voltage drop and IP needs pass testing. |
| Sealed control box or hot beam cavity | Apply datasheet derating first, then size the driver from the reduced continuous output. |
| RGBW strip used for full-white scenes | Check the maximum simultaneous channel load, not only average mood-light usage. |
| Long beam or perimeter strip | Add power injection, larger conductors, shorter branches, or separate drivers before oversizing one supply. |
| North American Class 2 preference | Divide the package into limited outputs when the total load would exceed the selected compliance path. |
For a deeper driver and dimming discussion, the existing VLEDSTAR guide on LED lights for pergolas, driver sizing, dimming, and OEM design is a useful companion. This article focuses more narrowly on sizing 24V beam, louver, and strip packages as a manufacturable product.
How Should Voltage Drop Change the Driver Plan?
Voltage drop changes the driver plan because a larger power supply cannot fix a weak distribution layout. Armacost’s voltage drop calculator shows how drop depends on watts, wire length, and wire gauge; for pergola beams, those variables are controlled by product design, not by the installer alone.
The practical rule is simple: calculate voltage drop before finalizing the driver position. For 24V LED strips, lower current helps compared with 12V, but a long beam still has conductor resistance. If the far end of a strip receives too little voltage, brightness falls and color temperature can shift. In RGBW systems, one color may drift earlier than another.
Use this thinking before you choose a larger driver. If a beam is long, split the run into two parallel feeds, feed from both ends, move the driver or distribution block closer, or increase conductor size. Oversizing the driver does not remove voltage loss along a thin cable or LED tape copper path.
Voltage drop planning: estimate the round-trip conductor path, load current, and cable resistance. Then compare the end-of-run voltage with the LED strip’s allowed input range and your visual acceptance target.
For installers and engineers who need a practical refresher, see VLEDSTAR’s guide to solving voltage drop in low-voltage LED strips. The key OEM decision is to design the injection method into the kit so every dealer wires it the same way.
Power injection should be a kit feature
In a pergola package, power injection should not feel like a field workaround. It should be part of the harness. A left beam, right beam, front beam, and rear beam can each receive parallel feeds from a central waterproof distribution point. That gives the manufacturer more predictable brightness and gives the installer fewer chances to daisy-chain a high-current run through one small connector.
This is where a specialist pergola lighting manufacturer adds value. VLEDSTAR develops LED kits, RF controls, waterproof connectors, and control units around pergola structures rather than treating lights as generic tape. The goal is not only to power LEDs, but to make the wiring repeatable for factory assembly and dealer installation.
What About RGBW, Dimming, and Control-Channel Ratings?
RGBW and dimming change driver sizing because the driver is only one part of the current path. NEMA 77 provides guidance for temporal light artifacts, so professional pergola lighting should consider driver quality, PWM dimming behavior, receiver output rating, and visual comfort together.
Many LED strip sizing articles calculate the power supply and stop. In a pergola control system, the receiver or dimmer channel may be the limiting part. A 240 W driver does not help if the RGBW controller is rated for less current per channel than the strip can draw at full output. The same applies to connectors, splitters, and terminal blocks.
For RGBW, do not size only from a marketing scene such as “warm evening mode.” Size from the maximum allowed full-output mode. If the controller software never allows all channels to run at 100 percent at once, document that limit clearly. If it does allow full white plus color, size the driver, controller, and harness for that condition.
L'article sur RGB, RGBW, and mono LED control for louvered pergolas is relevant here because color type is not only a visual decision. It changes the number of channels, current balance, connector pins, and support questions.
Stable dimming starts with matched parts
Low-end dimming problems often appear as flicker, shimmer, sudden cut-off, or different brightness between zones. Sometimes the driver is blamed, but the issue may be a poor match between driver output behavior, PWM frequency, control receiver, and LED strip design. The NEMA page for NEMA 77 is a useful reference point for teams that want a formal way to discuss flicker and temporal light artifacts.
If the pergola package uses RF remote, wall panel, Tuya app, or multi-zone control, test the driver at the lowest dimming level and the highest full-load scene. VLEDSTAR’s pergola light control kit et multi-zone pergola lighting control resources show why the control layer belongs in the same conversation as the driver.
How Do Outdoor Conditions Affect 24V Driver Selection?
Outdoor conditions affect driver selection through moisture, heat, enclosure sealing, cable entry, and service access. IEC 60529 defines IP ratings for resistance to dust and liquid ingress, so a pergola power system should specify the IP level of the driver, connectors, junctions, and control enclosure.
A driver that looks suitable on a bench may not be suitable inside a pergola beam. Aluminum structures can trap heat. Cable glands can point upward if the installer has no keyed bracket. A waterproof box can become a heat box. A connector that passes rain exposure may fail when water sits at a low point after cleaning or winter freeze cycles.
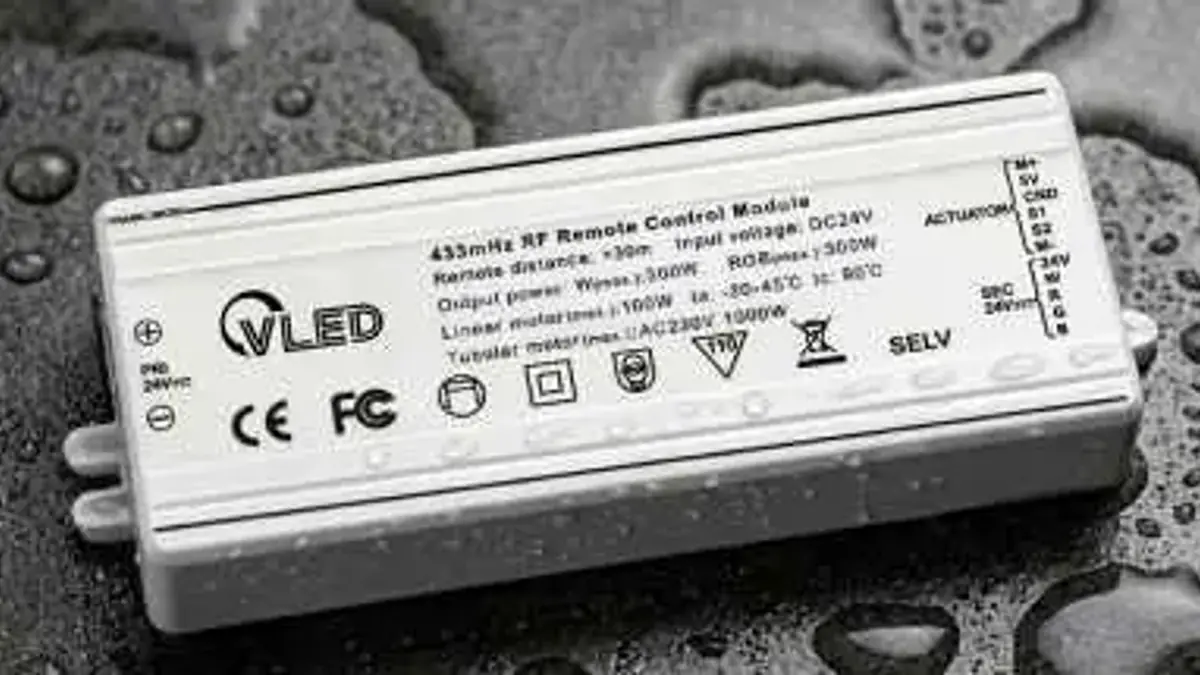
This is why the IP rating should cover the whole chain. The driver housing, output connectors, controller box, splitters, and LED strip ends all need an outdoor strategy. The IEC’s ingress protection rating overview explains the purpose of IP codes, while VLEDSTAR’s IP rating guide for outdoor pergola lighting applies the topic to pergola components.
Service access is part of reliability
A hidden driver may look clean in a showroom, but it can punish the dealer during a service visit. The best location is usually close enough to reduce voltage drop, protected enough to meet the environmental target, ventilated enough for heat, and accessible enough for inspection.
That balance differs by product line. A residential pergola may hide the driver in a post or beam service compartment. A hospitality terrace may need grouped drivers in an accessible technical area with labeled outputs. A factory-built kit may use keyed connectors and a standard harness length so the installer cannot swap left and right outputs by accident.
What Is a Better Sizing Workflow for Pergola Manufacturers?
A better workflow starts from lighting zones and ends with a tested kit, not with a driver catalogue. For each pergola size, define the LED loads, simultaneous scenes, cable paths, voltage drop limits, control-channel ratings, enclosure temperatures, and compliance route before approving the driver.
Use this workflow for a new 24V pergola lighting package:
- List every LED load: beam strips, louver strips, spotlights, RGBW strips, control receivers, and accessory loads.
- Group loads by behavior: what turns on together, what dims together, and what needs separate service isolation.
- Calculate full-output watts and current for each group using actual strip length and fixture ratings.
- Check controller, receiver, dimmer, connector, and splitter current limits before choosing the driver.
- Choose a target continuous load ratio, usually around 75 to 80 percent before thermal derating is considered.
- Apply driver datasheet derating for ambient temperature, sealed enclosures, and mounting position.
- Run voltage drop checks for every branch, not only the total package.
- Decide whether Class 2-limited outputs, multiple drivers, or one higher-power driver fits the target market.
- Test low dimming, full output, RGBW full-white scenes, startup behavior, RF range, and fault recovery.
- Lock the harness, connector labels, driver rating, and installation instructions into the BOM.
This workflow also makes product planning easier. A manufacturer can create a base lighting kit for smaller pergolas, a larger beam-light kit for wide spans, and an RGBW premium kit without rewriting the electrical design each time. For broader planning, VLEDSTAR’s solutions d'éclairage pour pergolas page shows how lighting, cases, manufacturing, and supply support fit together for OEM buyers.
Example: Sizing a 24V Driver Package for a 4-Beam Pergola
A realistic example shows why the final answer is rarely one number. Suppose an OEM wants one lighting package for a four-beam pergola with white perimeter strips, optional louver accents, eight spotlights, RF remote dimming, and a future RGBW upgrade path.
| Package element | Assumed load | Full-output watts | Design decision |
|---|---|---|---|
| Four beam strips | 4 x 2.8 m x 9.6 W/m | 107.5 W | Split into left and right beam feeds to reduce voltage drop. |
| Two louver accent strips | 2 x 1.8 m x 6 W/m | 21.6 W | Separate branch for easier testing around moving parts. |
| Eight spotlights | 8 x 1.5 W | 12 W | Parallel spotlight harness with waterproof connectors. |
| Control allowance | Receiver, dimmer, indicator loads | Project-specific | Confirm from control hardware datasheet. |
| Total LED load before allowance | Sum of listed LED loads | 141.1 W | Do not choose the driver until zoning and derating are checked. |
If this package used one driver loaded to 80 percent, the arithmetic points to about 176 W before control allowance. The catalogue answer might be a 200 W 24V driver. The OEM answer may be different: two Class 2-style outputs, a 96 W beam-zone driver plus a smaller accent driver, or a control unit that separates beam lighting from louver and spotlight branches.
The better choice depends on the business model. If the pergola ships flat-packed to dealers, keyed plug-and-play harnesses may matter more than saving one driver. If the system targets commercial patios, independent zones may help maintenance teams keep part of the terrace operating while one branch is serviced.
What Mistakes Cause Driver Sizing Problems in Pergola Projects?
Most sizing failures come from treating the driver as a commodity part. The common mistakes are predictable: ignoring full-output RGBW current, daisy-chaining long strips, hiding drivers in hot sealed spaces, exceeding controller channel ratings, and changing strip wattage without updating the BOM.
The first mistake is sizing from nominal mood-light usage. A customer may use 40 percent dimming most nights, but the driver and controller must tolerate the highest allowed scene. If full white is available, size from full white unless software or firmware limits it.
The second mistake is counting total watts but ignoring where the watts are. A 120 W load in one short branch is different from a 120 W load spread across four long beams. Voltage drop and connector current are local problems. A single total wattage number hides them.
The third mistake is letting the installer invent the distribution method. If one dealer uses two-end feed, another uses single-end feed, and another daisy-chains across beams, the same driver can produce three different field results. A professional kit should make the preferred wiring path obvious.
The fourth mistake is leaving lighting outside the control platform discussion. Modern pergola buyers expect one remote or app to manage lights, louvers, screens, and sensors. The driver plan must match that expectation. VLEDSTAR’s Plateforme de contrôle de pergola OEM article explains why integrated control reduces the accessory-system problem for manufacturers.
How Should Manufacturers Specify the Final Driver Package?
The final specification should describe the driver package as a tested subsystem, not as a loose power supply. A strong OEM specification includes rated output, load ratio, circuit zoning, channel ratings, IP target, connector type, harness length, installation position, and accepted dimming behavior.
Write the specification in a way that production, purchasing, installers, and after-sales teams can all use. A driver line item should not say only “24V 200W waterproof power supply.” It should state which loads it serves, which controller output it feeds, what load limit applies, where it mounts, and what replacement part should be used.
Better specification example: 24V constant-voltage LED driver package for two beam-light zones and one accent-light zone, rated for outdoor use in the specified enclosure, sized for maximum simultaneous LED output with continuous-load headroom after thermal derating, supplied with keyed waterproof connectors and labeled outputs for left beam, right beam, and louver accent branches.
This kind of wording prevents purchasing from swapping in an unsuitable driver because the voltage and wattage appear similar. It also helps dealers understand that the lighting package is engineered as part of the pergola, not added as a decorative afterthought.
For manufacturers building a repeatable outdoor lighting offer, the strongest approach is to co-design the LED strip, driver, connectors, receiver, and control logic. That is the manufacturing role VLEDSTAR focuses on: integrated pergola lighting and control systems for OEMs, with product development around real pergola structures rather than generic indoor strip-light assumptions.
Build a 24V Pergola Lighting Package That Installs the Same Way Every Time
If you are standardizing beam lights, louver accents, strip lighting, RGBW scenes, or RF/app control for a pergola product line, driver sizing should be part of the kit architecture from the first BOM review.
FAQ
Can I use one 24V driver for all pergola lighting?
Yes, if the total load, voltage drop, controller rating, thermal condition, protection strategy, and local installation rules all support it. Many OEM packages work better with several outputs or drivers because zoning improves wiring, compliance planning, service access, and upgrade flexibility.
Is 20 percent headroom enough for a pergola LED driver?
Sometimes. For short, low-power, single-color runs in a cool driver location, 20 percent can be reasonable. For hot sealed boxes, RGBW strips, long beams, or commercial duty cycles, use datasheet derating and consider a lower continuous load target such as 75 percent.
Does 24V remove voltage drop?
No. A 24V system reduces current compared with 12V at the same wattage, which helps. Long cable runs, high-power strips, thin conductors, and single-end feeds can still produce visible brightness loss or color shift.
Should RGBW strips be sized from average color scenes?
No. Size from the maximum allowed simultaneous output. If the control system permits all channels to run at full output, the driver, controller, wiring, and connectors must support that condition. If software limits the maximum scene, document it clearly in the specification.
What is the safest next step before approving a driver BOM?
Build a full-load prototype with final harness lengths, final connectors, final controller, and final driver location. Test startup, low dimming, full output, voltage at the farthest strip end, enclosure temperature, and service access before locking the BOM.

Ping de retour: Why Pergola Lighting Controls Fail Outdoors and How Manufacturers Can Prevent It
Ping de retour: Why Pergola Lighting Controls Fail Outdoors
Ping de retour: IP65, IP66 ou IP67 pour les contrôleurs et capteurs de pergola : ce qui compte vraiment